TS18 Stuck on Logo or Boot Loop After a Wrong Flash? Here’s the Complete Unbrick & Recovery Guide
Typical symptoms: frozen on the car/brand logo or restarts every 20–60 seconds. Root cause: the TS18 firmware has multiple branches (1.1/1.2/2.2, WINDOW/THEME, portrait/landscape, 2K vs 1080p). Cross‑flashing across branches or resolutions bricks the unit. This guide helps you identify the exact branch and recover safely via USB/force flashing. This TS18 unbrick guide covers TS18 stuck on logo, TS18 boot loop fix, and other Android head unit boot loop scenarios. If you landed here after a TS18 wrong firmware flash, you’re in the right place.
1) Recognize the Problem
Common signs after a wrong flash:
- Stuck on the car/brand logo; never reaches the launcher.
- Endless reboot loop (restarts every 20–60 seconds).
- Black screen with backlight on, or no backlight at all (hard brick).
- In rare cases it boots but touch is dead or the picture is scrambled — usually a resolution/touch driver mismatch.
2) Why the TS18 Bricks Easily: the Firmware Branch Map
TS18 isn’t a single monolithic firmware. It’s a multi‑branch family split by hardware platform, screen resolution, orientation, and UI packaging—across TS18 firmware branch 1.1/1.2/2.2 variants. Cross‑flashing (e.g., 2K ↔ 1080p, portrait ↔ landscape, WINDOW ↔ THEME, or 1.1/1.2/2.2) is the #1 reason for bricking.
2.1 Hardware platform
- UIS8581 vs UIS7862: kernel, drivers, and partition layouts differ. Never cross‑flash between platforms.
- Board vendor spin: same SoC, different codec/CAN/amplifier drivers baked into the package.
2.2 Screen system & resolution
- 2K (e.g., 2000×1200 / 1920×1200) vs 1080p/1280×720 (TS18 2K vs 1080p firmware): panel timing and touch calibration are tightly coupled.
- Panel buses: LVDS vs eDP; different DSI lanes and timing tables.
2.3 Orientation & UI packaging
- Portrait vs landscape (TS18 portrait vs landscape firmware) builds; some sub‑branches hard‑code rotation early in boot.
- WINDOW vs THEME (TS18 WINDOW vs THEME): different resource/launcher packaging; may boot but break UI and inputs.
2.4 Major branches: 1.1 / 1.2 / 2.2
- Major bumps often change partitions or driver stacks; treat them as incompatible unless the vendor explicitly confirms upgrade paths.
3) Capture Your “Model Fingerprint” (Exact Identification)
Before recovery, capture a complete fingerprint of your TS18. The goal is to match a firmware that aligns with every dimension above.
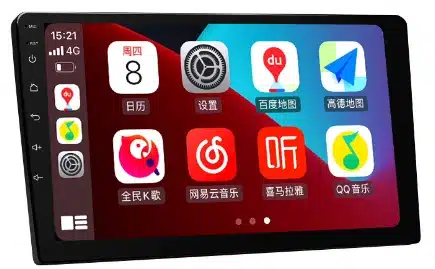
3.1 System fields (if the UI is still accessible)
- About device → model, SoC, Android version, build number, resolution, kernel date.
- Back up the current build metadata (photos/screenshots). This is your rollback anchor.
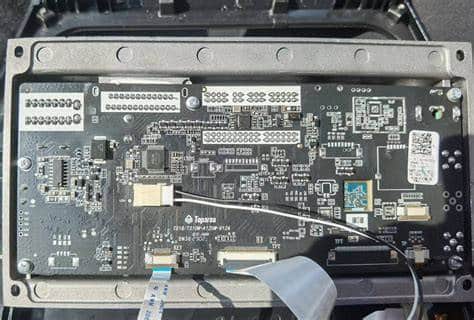
3.2 Board silkscreen & stickers (if disassembly is possible)
- Photograph both sides of the PCB; record board code and PCB revision.
- Note amplifier (TDA/825x), radio (TDA7708), and DSP chips used.
3.3 Display & touch
- Panel label (resolution, vendor, timing). Pitfall: 2K mislabeled as 1080p, or vice versa.
- Touch controller IC model (e.g., Goodix/FocalTech) — crucial for touch recovery.
4) Three Recovery Paths (Low → High Risk)
Always start with the lowest‑risk path that fits your situation.
Path A — OTA/SD Card Rollback (if Recovery is accessible)
Use only if you can still enter stock Recovery and have a known‑good, exact‑match package for your branch.
- Copy the exact update package (ZIP) to the root of a FAT32 SD/USB.
- Enter Recovery (Power + Reset or vendor key combo) and choose Apply update.
- After flashing, do not factory‑reset immediately; validate display and touch first.
Path B — USB Force Flash (highest success rate; usually wipes data)
Best for logo‑stuck devices. Requires a PC, a data‑capable cable, and an image set that matches your branch (scatter/partition package).
- Install driver/tooling per platform (use signed drivers on Windows).
- Load the correct partition map and enable checksum verification.
- Connect the unit in download mode; if not detected, try the board’s forced‑download pads.
- Flash in the tool’s recommended sequence (e.g., bootloader → kernel → system → vendor → dtbo); don’t skip verified partitions.
Path C — Board‑Level Force (Maskrom/short pads)
Last resort for hard bricks. You’ll open the unit and short designated pads to put the SoC into the lowest‑level download mode.
- Disconnect vehicle power; bench‑power the unit with a stable supply.
- Short the vendor‑documented pads while plugging in USB; release after the PC detects a new device class.
- Flash a minimal bootable set first; verify panel/touch before optional partitions.
5) USB / Force Flashing — Practical How‑To
Below is the standard TS18 USB flash workflow.
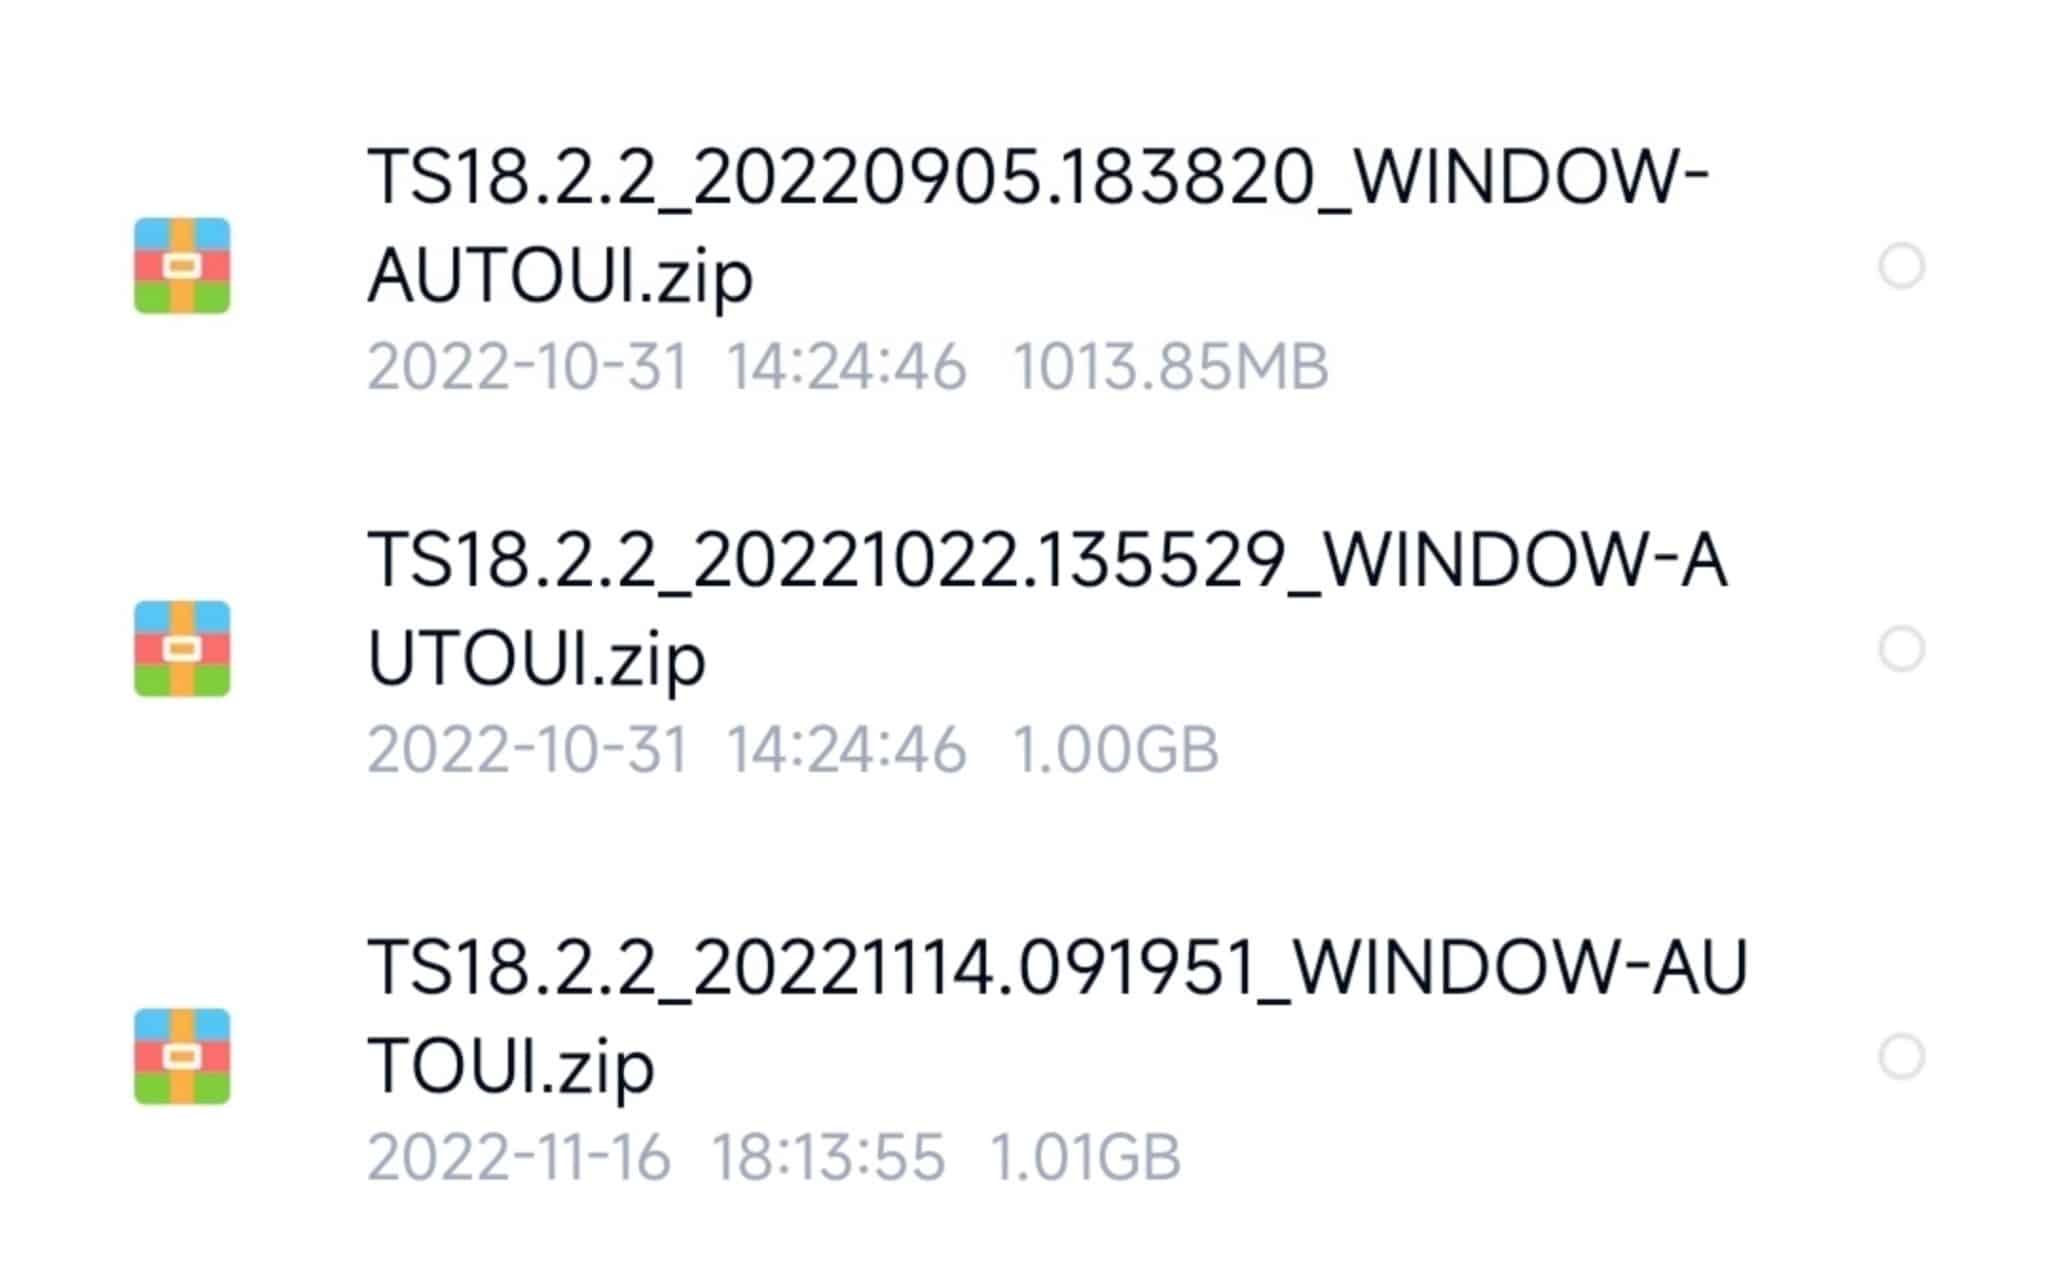
5.1 Choose the right image set
- Match all five axes: platform (UIS8581/UIS7862), resolution (2K vs 1080p), orientation (portrait/landscape), UI packaging (WINDOW/THEME), and major branch (1.1/1.2/2.2).
- Prefer signed or checksum‑verifiable images; record MD5/SHA256 before flashing.
5.2 Cabling & power
- Use a short, known‑good data cable; avoid hubs. A stable 12V bench supply is recommended.
- ESD matters; don’t hot‑plug CAN/camera harnesses during flash.
5.3 Typical tool sequence (abstracted)
- Install drivers → reboot PC if required.
- Load firmware scatter/partition layout → enable checksum.
- Press Download/Flash → enter download/Maskrom mode.
- Wait for a full verify pass → power cycle → first boot usually takes 2–5 minutes.
5.4 Common errors & remedies
| Symptom / Error | Likely cause | What to try |
|---|---|---|
| Tool doesn’t detect device | Wrong mode, bad cable, missing driver | Try Maskrom/short pads; swap cable/port; reinstall driver |
| Checksum failed | Corrupt download or wrong package | Re‑download; verify MD5/SHA256; confirm branch match |
| Flashes fine but black screen | Wrong resolution/panel timing | Switch to panel‑matched image (2K vs 1080p; LVDS vs eDP) |
| Boots but touch is dead | Mismatched touch driver | Use image with correct Goodix/FocalTech driver; or patch vendor |
| Boot loop after logo | Vendor/system mismatch or wrong dtbo | Re‑flash dtbo/vendor pair for your branch; avoid mixing versions |
| No audio / noisy radio | Codec/amp driver mismatch | Use a build for your exact board spin (amp/radio ICs) |
6) Post‑Flash Validation & CAN Setup
6.1 Visual & input checks
- Resolution: crisp output, no scaling artifacts; correct orientation.
- Touch: full‑panel response, no inverted axes or dead zones.
6.2 Audio, camera, and radio
- Play a local file; confirm balance/fade; check DSP presets.
- Reverse camera; verify guidelines and latency.
- FM stability (e.g., TDA7708 + RDS) validated while driving.
6.3 CAN & vehicle integration
- Enter Factory / CAN settings; select the correct brand/model/year.
- Test steering‑wheel keys, door status, and A/C overlay. A wrong CAN profile often looks like a “firmware bug.”
6.4 Backup & future policy
- Export a full settings backup (if supported) and photograph the build page.
- Upgrade only within your confirmed branch; keep a copy of this working image and its checksums offline.
7) Quick Fix Matrix
| Observed symptom | Branch signal | Verify | Action |
|---|---|---|---|
| Logo → boot loop | Likely vendor/dtbo or cross‑branch mismatch | Compare build date vs branch; diff vendor files | USB‑flash a branch‑matched vendor + dtbo |
| Black screen (backlight on) | Wrong panel timing/resolution (2K ↔ 1080p) | Check panel label/resolution | Switch to the correct resolution image |
| Boots but touch dead | Touch driver mismatch | Identify the touch IC | Use firmware that matches the touch IC |
| No audio / CAN overlays wrong | Wrong CAN profile / codec | Check CAN brand/year, codec IC | Select the correct CAN profile; match codec build |
8) FAQ — TS18 Wrong‑Flash & Recovery
Q1. Can a vibration‑only, no‑display unit still be saved?
Usually yes via Maskrom/force mode, provided the SoC enumerates over USB. True power/PMIC failures require board repair.
Q2. I can enter Recovery. Should I factory‑reset first?
No. Try a branch‑matched rollback first. Resetting before flashing can’t fix a cross‑branch mismatch and may erase logs you need.
Q3. A friend’s firmware boots on their TS18 but bricks mine. Why?
Same “TS18” label, different branch. Your panel, touch, or vendor stack differs. Treat each unit as unique until proven identical.
Q4. Can I flash 2K on a 1080p panel for “better quality”?
No. Panel timing must match. Wrong resolution typically yields a black screen or garbled output.
Q5. USB flash vs Maskrom: which is better?
USB flash is less invasive and sufficient for most soft bricks. Maskrom is for hard bricks — more powerful but riskier.
Q6. Touch is still dead after a “successful” flash.
Re‑check the touch IC family. Many vendor images are identical except for touch drivers. Use the image tagged for your controller.
Q7. After flashing, there’s no sound or the radio is noisy.
Likely a codec/amp or radio driver mismatch. Use a build targeted for your exact board spin (amp IC, tuner model).
Q8. Will flashing erase activation or paired features?
Depends on the vendor. Back up all IDs/keys. Once you have UI access, migrate data under guidance.
Q9. How do I keep this from happening again?
Maintain a device folder: photos of the board, panel label, touch IC, and About screen; store your known‑good image and checksums.
Q10. When should I stop DIY and seek help?
Stop after two failed flash attempts or if Maskrom pads are unclear. Professional rescue reduces PCB damage risk.
9) Resources & Internal Links
- Remote repair & unbrick service: FixMyDash — Repair Car Android
- Homepage & contact: FixMyDash.com
- Product insights & tutorials: CarMP5.com
- Premium in‑car systems (reference): Ikagoo.com
10) Safety & Legal Disclaimer
This guide is for technicians and experienced hobbyists. Disassembly and board‑level operations carry risk of injury and equipment damage. Always disconnect vehicle power, observe ESD precautions, and comply with local regulations and warranty terms. Use only firmware you are licensed to use. If you are unsure, book professional service.